Camera and editing technology has transformed rapidly for the past decade. Before, only a few trained specialists would take an interest in photography, as the equipment and management required a substantial amount of knowledge. Now, photography has become more user-friendly and affordable. Nearly anyone with a powerful camera can explore photography as a medium, and trends in the photography show that this field is no longer limited to professionals now.
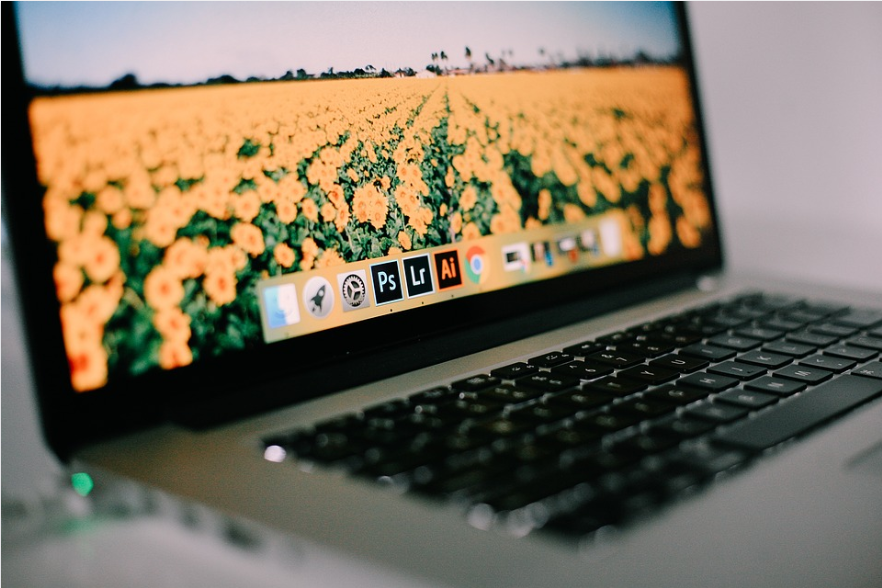
Once you edit your photos in Lightroom on your desktop or mobile device, you can probably capture the most up-to-date version of your photos on all your devices. Although there are alternatives for this particular app, as cited in this article, here’s how you can enhance photos using the image editing and optimization options in Adobe Lightroom.
Presets and Light Adjustment
Experiment with presets to apply filter-like effects to your photos. You can preview the impact of different presets on your image by hovering over the preset names. Then, use a favorite preset with one click. The light panel in Lightroom app gives you full control over the delicate character of a photo. Some sliders adjust the overall brightness of the exposure and refine the contrast, and sliders that target only the shadows and highlights in an image.
Improving Color and Texture Details
 Color space controls in Lightroom help you solve the most common color problems. Using the white balance controls, including the Temp and Tint sliders, neutralizes unwanted color casts and makes the colors look more realistic. If a photo’s color looks dull, make them more intense with the Vibrance or Saturation sliders.
Use Vibrance for a more subtle approach, which is better for skin tones. Saturation is best when you want the colors to pop. Using the Details and Effects panels will add a dramatic impact to an image. The Texture and Clarity slider modifies the appearance of the edge definition and texture details in the picture. Besides, the Dehaze slider reduces the haziness in a landscape photo and could add finishing touches with the Sharpening slider.
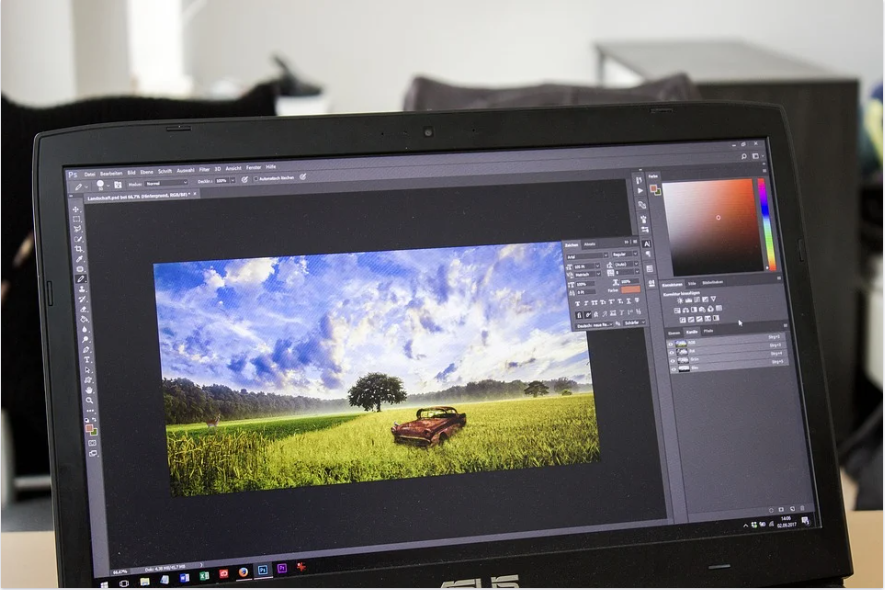
Retouch and Applying Selective Edits
Some dust spots and other distractions in a photo can be reduced by the Healing Brush tool. You may also edit some parts of an image by applying selective edits with the Linear and Radial Gradient and the Brush tools. By using these tools, you can, for instance, improve just the sky in a landscape photo or brighten only the subject’s face in a portrait.